Engineered flooring has become a popular choice for homeowners due to its durability, aesthetic appeal, and cost-effectiveness. This guide explores the costs, installation process, and maintenance tips for modern engineered flooring.
What is Engineered Flooring?
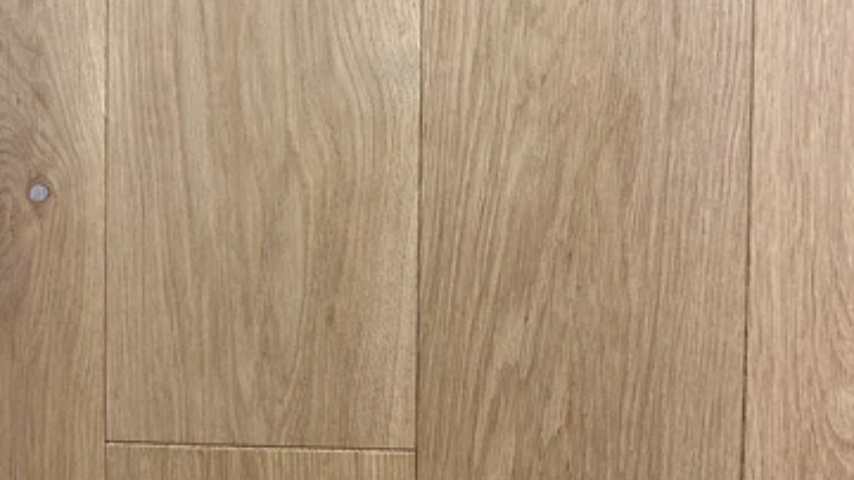
Engineered wood flooring consists of a top layer of real hardwood bonded to multiple layers of plywood or high-density fiberboard. This construction makes it more stable and less prone to warping compared to solid hardwood, especially in environments with fluctuating humidity levels.
Cost of Engineered Flooring
The cost of engineered flooring varies depending on several factors including the type of wood, quality, brand, and installation method. Here’s a breakdown of the typical costs:
-
Material Costs:
- Basic: $3 – $6 per square foot
- Mid-Range: $6 – $10 per square foot
- High-End: $10 – $16+ per square foot
-
Installation Costs:
- DIY Installation: Minimal cost if you have the necessary tools and skills.
- Professional Installation: $3 – $10 per square foot, depending on the complexity of the job and local labor rates.
-
Additional Costs:
- Underlayment: $0.25 – $0.75 per square foot
- Moisture Barrier: $0.50 – $1.00 per square foot (if needed)
- Trim and Moldings: $1 – $4 per linear foot
Installation Process
The installation of and search buy wood flooring near me can be done through various methods, including floating, glue-down, and nail-down techniques. Here’s a step-by-step guide for each method:
-
Preparation:
- Acclimate the Flooring: Leave the engineered flooring in the room where it will be installed for 48-72 hours to acclimate.
- Prepare the Subfloor: Ensure the subfloor is clean, dry, and level. Remove any old flooring materials.
-
Floating Installation:
- Lay Underlayment: Roll out the underlayment across the subfloor.
- Join Planks: Click the planks together using the tongue-and-groove system.
- Leave Expansion Gaps: Leave a small gap around the edges to allow for expansion.
-
Glue-Down Installation:
- Apply Adhesive: Spread adhesive on the subfloor using a trowel.
- Place Planks: Carefully place each plank in the adhesive, pressing down firmly.
- Roll the Floor: Use a roller to ensure the planks adhere properly to the subfloor.
-
Nail-Down Installation:
- Position the Planks: Lay the first row of planks, leaving a gap for expansion.
- Nail the Planks: Use a flooring nailer to secure the planks to the subfloor.
- Continue Installation: Continue nailing each row, ensuring the planks are snug.
Maintenance Tips
Proper maintenance can extend the life of your engineered flooring and keep it looking new. Here are some tips:
-
Regular Cleaning:
- Sweep or Vacuum: Regularly remove dust and debris with a soft-bristle broom or vacuum designed for hardwood floors.
- Damp Mop: Use a damp mop with a mild cleaner specifically designed for engineered wood. Avoid excessive water.
-
Protective Measures:
- Use Mats and Rugs: Place mats at entryways and rugs in high-traffic areas to protect the floor from dirt and wear.
- Furniture Pads: Attach felt pads to the bottoms of furniture legs to prevent scratches.
-
Preventative Care:
- Control Humidity: Maintain indoor humidity levels between 30% and 50% to prevent the wood from expanding or contracting.
- Avoid Harsh Chemicals: Avoid using harsh chemicals or abrasive cleaners that can damage the finish.
Conclusion
Modern engineered flooring is a versatile and cost-effective option for homeowners looking to enhance the beauty and value of their homes. By understanding the costs, installation methods, and maintenance requirements, you can make an informed decision and enjoy your engineered floors for many years to come.